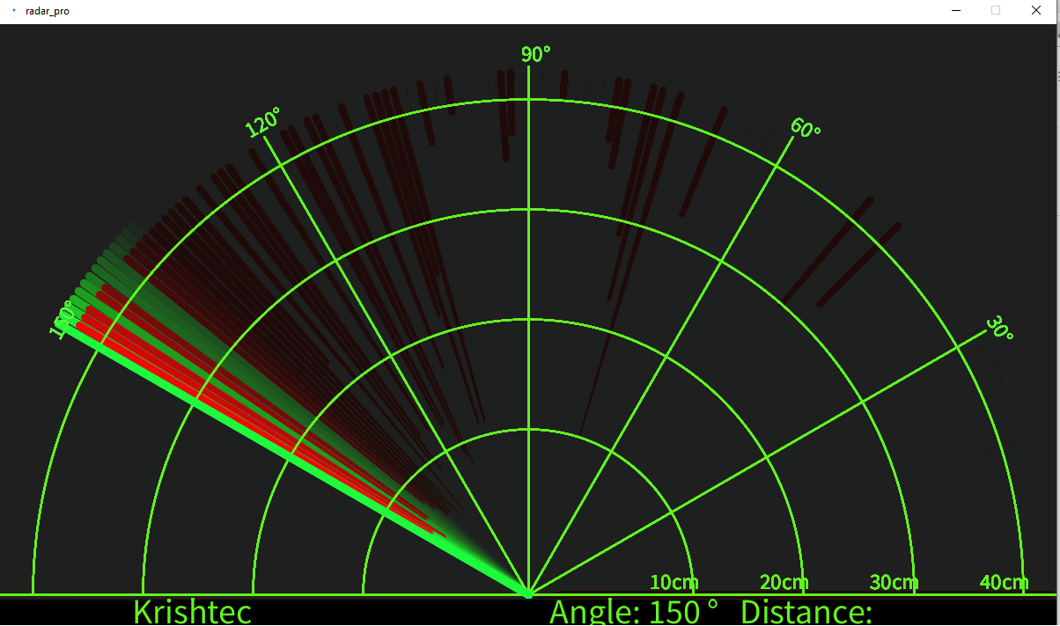
Overview :
RADAR stands forRadio Detection and Ranging System. The objective of the task is to monitor if any obstacles near the surrounding using ultrasonic wave and measure its distance. It can be applicable for various applications as
➢ Vehicle Collision
➢ Robot Collision
➢ Blind man stick for collision prevention
Requirement :
● ESP8266[Node MCU]
● Micro Servo motor -9g-SG90
● Ultrasonic Sensor – HCSR04
● Arduino IDE
● Processing Application -Download Processing / Processing.org
Connections :
● Micro Servo Motor to ESP8266
| Servo | ESP8266 |
|---|---|
| Brown | Gnd |
| Red | 3.3V/Vin |
| Yellow | D8 |
● HC-SR04 to ESP8266
| HC-SR04 | ESP8266 |
|---|---|
| VCC | 3.3V |
| Trig | D7 |
| Echo | D6 |
| Gnd | Gnd |
Code for Ultrasonic Sensor and Micro- Servo Motor :
// Includes the Servo library
#include <Servo.h>.
// Defines Tirg and Echo pins of the Ultrasonic Sensor
const int trigPin = D7;//D7
const int echoPin = D6;//D6
// Variables for the duration and the distance
long duration;
int distance;
Servo myServo; // Creates a servo object for controlling the servo motor
void setup() {
  pinMode(trigPin, OUTPUT); // Sets the trigPin as an Output
  pinMode(echoPin, INPUT); // Sets the echoPin as an Input
  Serial.begin(9600);
  myServo.attach(D8); // D8 Defines on which pin is the servo motor attached
}
void loop() {
  // rotates the servo motor from 15 to 165 degrees
  for(int i=15;i<=165;i++){
  myServo.write(i);
  delay(30);
  distance = calculateDistance();// Calls a function for calculating the distance measured by the Ultrasonic sensor for each degree

  Serial.print(i); // Sends the current degree into the Serial Port
  Serial.print("\n"); // Sends addition character right next to the previous value needed later in the Processing IDE for indexing
  Serial.print(distance); // Sends the distance value into the Serial Port
  Serial.print("."); // Sends addition character right next to the previous value needed later in the Processing IDE for indexing
  delay(100);
  }
  // Repeats the previous lines from 165 to 15 degrees
  for(int i=165;i>15;i--){
  myServo.write(i);
  delay(30);
  distance = calculateDistance();
  Serial.print(i);
  Serial.print("\n");
  Serial.print(distance);
  Serial.print(".");
  }
}
// Function for calculating the distance measured by the Ultrasonic sensor
int calculateDistance(){

  digitalWrite(trigPin, LOW);
  delayMicroseconds(5);
  // Sets the trigPin on HIGH state for 10 micro seconds
  digitalWrite(trigPin, HIGH);
  delayMicroseconds(10);
  digitalWrite(trigPin, LOW);
  duration = pulseIn(echoPin, HIGH); // Reads the echoPin, returns the sound wave travel time in microseconds
  distance= duration*0.034/2;
  return distance;
}
Processing Code – JDK :
import processing.serial.*; // imports library for serial communication
import java.awt.event.KeyEvent; // imports library for reading the data from the serial port
import java.io.IOException;
Serial myPort; // defines Object Serial
// defubes variables
String angle="";
String distance="";
String data="";
String noObject;
float pixsDistance;
int iAngle, iDistance;
int index1=0;
int index2=0;
PFont orcFont;
void setup() {

 size (1200, 700); // ***CHANGE THIS TO YOUR SCREEN RESOLUTION***
 smooth();
 myPort = new Serial(this,"COM3", 9600); // starts the serial communication
 myPort.bufferUntil('.'); // reads the data from the serial port up to the character '.'. So actually it reads this: angle,distance.
}
void draw() {

  fill(98,245,31);
  // simulating motion blur and slow fade of the moving line
  noStroke();
  fill(0,4);
  rect(0, 0, width, height-height*0.065);

  fill(98,245,31); // green color
  // calls the functions for drawing the radar
  drawRadar();
  drawLine();
  drawObject();
  drawText();
}
void serialEvent (Serial myPort) { // starts reading data from the Serial Port
  // reads the data from the Serial Port up to the character '.' and puts it into the String variable "data".
  data = myPort.readStringUntil('.');
  data = data.substring(0,data.length()-1);

  index1 = data.indexOf("\n"); // find the character ',' and puts it into the variable "index1"
  angle= data.substring(0, index1); // read the data from position "0" to position of the variable index1 or thats the value of the angle the Arduino Board sent into the Serial Port
  distance= data.substring(index1+1, data.length()); // read the data from position "index1" to the end of the data pr thats the value of the distance

  // converts the String variables into Integer
  iAngle = int(angle);
  iDistance = int(distance);
}
void drawRadar() {
  pushMatrix();
  translate(width/2,height-height*0.074); // moves the starting coordinats to new location
  noFill();
  strokeWeight(2);
  stroke(98,245,31);
  // draws the arc lines
  arc(0,0,(width-width*0.0625),(width-width*0.0625),PI,TWO_PI);
  arc(0,0,(width-width*0.27),(width-width*0.27),PI,TWO_PI);
  arc(0,0,(width-width*0.479),(width-width*0.479),PI,TWO_PI);
  arc(0,0,(width-width*0.687),(width-width*0.687),PI,TWO_PI);
  // draws the angle lines
  line(-width/2,0,width/2,0);
  line(0,0,(-width/2)*cos(radians(30)),(-width/2)*sin(radians(30)));
  line(0,0,(-width/2)*cos(radians(60)),(-width/2)*sin(radians(60)));
  line(0,0,(-width/2)*cos(radians(90)),(-width/2)*sin(radians(90)));
  line(0,0,(-width/2)*cos(radians(120)),(-width/2)*sin(radians(120)));
  line(0,0,(-width/2)*cos(radians(150)),(-width/2)*sin(radians(150)));
  line((-width/2)*cos(radians(30)),0,width/2,0);
  popMatrix();
}
void drawObject() {
  pushMatrix();
  translate(width/2,height-height*0.074); // moves the starting coordinats to new location
  strokeWeight(9);
  stroke(255,10,10); // red color
  pixsDistance = iDistance*((height-height*0.1666)*0.025); // covers the distance from the sensor from cm to pixels
  // limiting the range to 40 cms
  if(iDistance<40){
    // draws the object according to the angle and the distance
  line(pixsDistance*cos(radians(iAngle)),-pixsDistance*sin(radians(iAngle)),(width-width*0.505)*cos(radians(iAngle)),-(width-width*0.505)*sin(radians(iAngle)));
  }
  popMatrix();
}
void drawLine() {
  pushMatrix();
  strokeWeight(9);
  stroke(30,250,60);
  translate(width/2,height-height*0.074); // moves the starting coordinats to new location
  line(0,0,(height-height*0.12)*cos(radians(iAngle)),-(height-height*0.12)*sin(radians(iAngle))); // draws the line according to the angle
  popMatrix();
}
void drawText() { // draws the texts on the screen

  pushMatrix();
  if(iDistance>40) {
  noObject = "Out of Range";
  }
  else {
  noObject = "In Range";
  }
  fill(0,0,0);
  noStroke();
  rect(0, height-height*0.0648, width, height);
  fill(98,245,31);
  textSize(25);

  text("10cm",width-width*0.3854,height-height*0.0833);
  text("20cm",width-width*0.281,height-height*0.0833);
  text("30cm",width-width*0.177,height-height*0.0833);
  text("40cm",width-width*0.0729,height-height*0.0833);
  textSize(40);
  text("Krishtec ", width-width*0.875, height-height*0.0277);
  text("Angle: " + iAngle +" °", width-width*0.48, height-height*0.0277);
  text("Distance:", width-width*0.30, height-height*0.0277);
  if(iDistance<40)
   {
  text("        " + iDistance +" cm", width-width*0.225, height-height*0.0277);
  }
  textSize(25);
  fill(98,245,60);
  translate((width-width*0.4994)+width/2*cos(radians(30)),(height-height*0.0907)-width/2*sin(radians(30)));
  rotate(-radians(-60));
  text("30°",0,0);
  resetMatrix();
  translate((width-width*0.503)+width/2*cos(radians(60)),(height-height*0.0888)-width/2*sin(radians(60)));
  rotate(-radians(-30));
  text("60°",0,0);
  resetMatrix();
  translate((width-width*0.507)+width/2*cos(radians(90)),(height-height*0.0833)-width/2*sin(radians(90)));
  rotate(radians(0));
  text("90°",0,0);
  resetMatrix();
  translate(width-width*0.513+width/2*cos(radians(120)),(height-height*0.07129)-width/2*sin(radians(120)));
  rotate(radians(-30));
  text("120°",0,0);
  resetMatrix();
  translate((width-width*0.5104)+width/2*cos(radians(150)),(height-height*0.0574)-width/2*sin(radians(150)));
  rotate(radians(-60));
  text("150°",0,0);
  popMatrix();
}
Uploading details :
● Press Ctrl+U or Upload Key to compile and upload the file through Arduino IDE
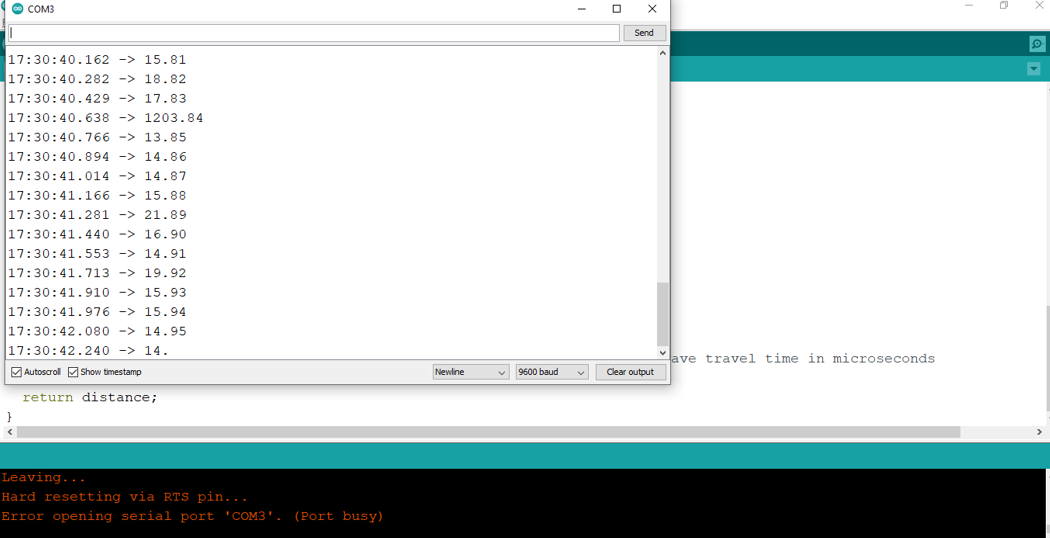
● Click on serial monitor to view the output of HC-SR04, measures in the meter
● To view through GUI, install the Processing software provided in the link
● Close the COM port of Arduino IDE before opening the processing App
● After installing the processing app, execute the Processing application code
● A new window with graphical view will be opened up where we can visualize the data.
Output :
● Reset the Hardware after Uploading
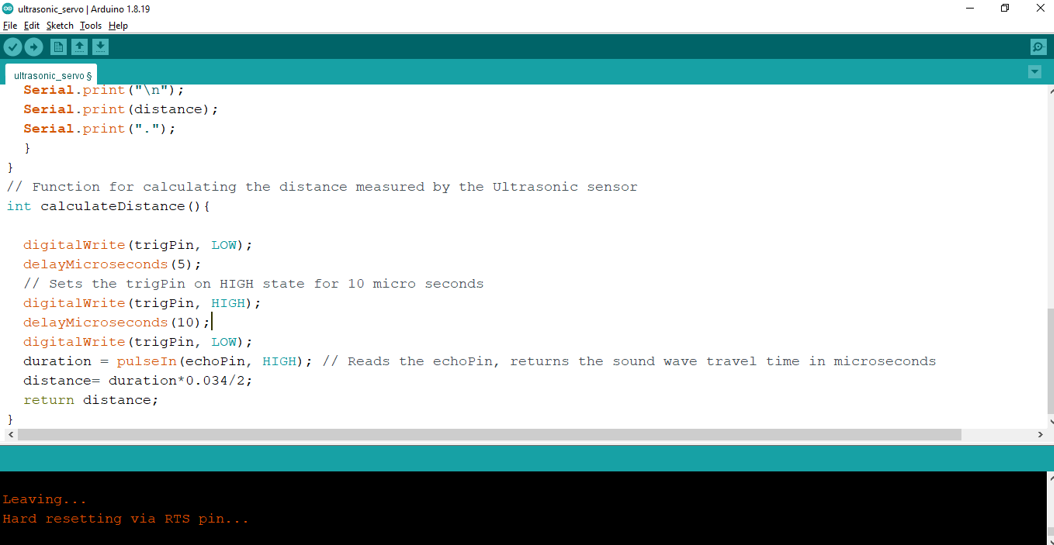
● The Serial Monitor displays the obstacle distance
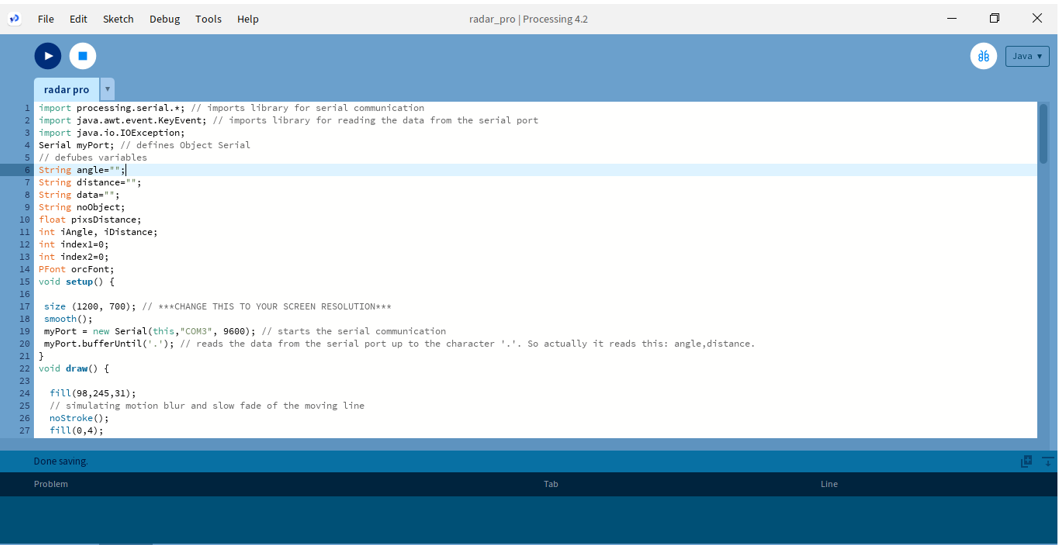
● Processing code save and can be executed by clicking the Play button
● COM port has to be change with your COM port number(e.g COM 3/4)
● Graphical output of the detected obstacles with a range